Your new phone is broken? Ever thought of fixing it yourself?
For many people, repairing their own smartphone is usually completely new territory and therefore involves a certain amount of uncertainty.
We at iDoc will help you with your repair. From high-quality spare parts for all common smartphone models to detailed instructions and support for the actual repair, we offer everything you need to repair your smartphone on your own.
In addition, we give you 11 tips in this blog post to make your repair a complete success.
Why repair it yourself?
There are several reasons why you should repair your defective smartphone yourself:
You act sustainable
A cracked display, a weak battery – there can be many reasons why you are no longer satisfied with your phone. But before you buy a new one, you should think about a more sustainable option! A mobile phone repair gives you the chance to replace only the really defective part. This way you make a personal contribution to using fewer resources and protecting the environment.
You save money
A mobile phone repair is almost always cheaper than buying a new device directly. If you also carry out the repair yourself, you save the costs of a repair shop.
You keep control
If you repair your smartphone yourself, you don’t have to leave it in someone else’s hands and reveal your data. You alone decide when to start the repair and how long it will take. Waiting times, repair times – not your problem.
You have fun
Admittedly, the reason may sound nerdy at first, but: It is simply exciting to look inside a smartphone and to better understand how it is constructed. You can also be proud of yourself when you have reassembled your phone after repair and it works perfectly again.
How to prepare your repair
To ensure that the repair of your smartphone is a complete success, we recommend that you follow these 11 tips.
1. Pay attention to your spare part’s quality
On the Internet you can order the right spare part for every available smartphone model. However, you should know that there are big differences in quality on the market. Especially for Apple spare parts, for which no original spare parts are available on the open market, you should take a closer look. Take a close look at the online shop – does it make a serious impression on you? Does the product description contain all relevant information? In a previous article we compiled a checklist to evaluate the seriousness of online shops.
When you have decided on a spare part and your order has arrived, you should have a close look at it. Don’t bother with protective foils and labels, but instead pay particular attention to damage, adhesive residues and general processing. Does the spare part make a good impression on you? Then lay it out on your work surface.

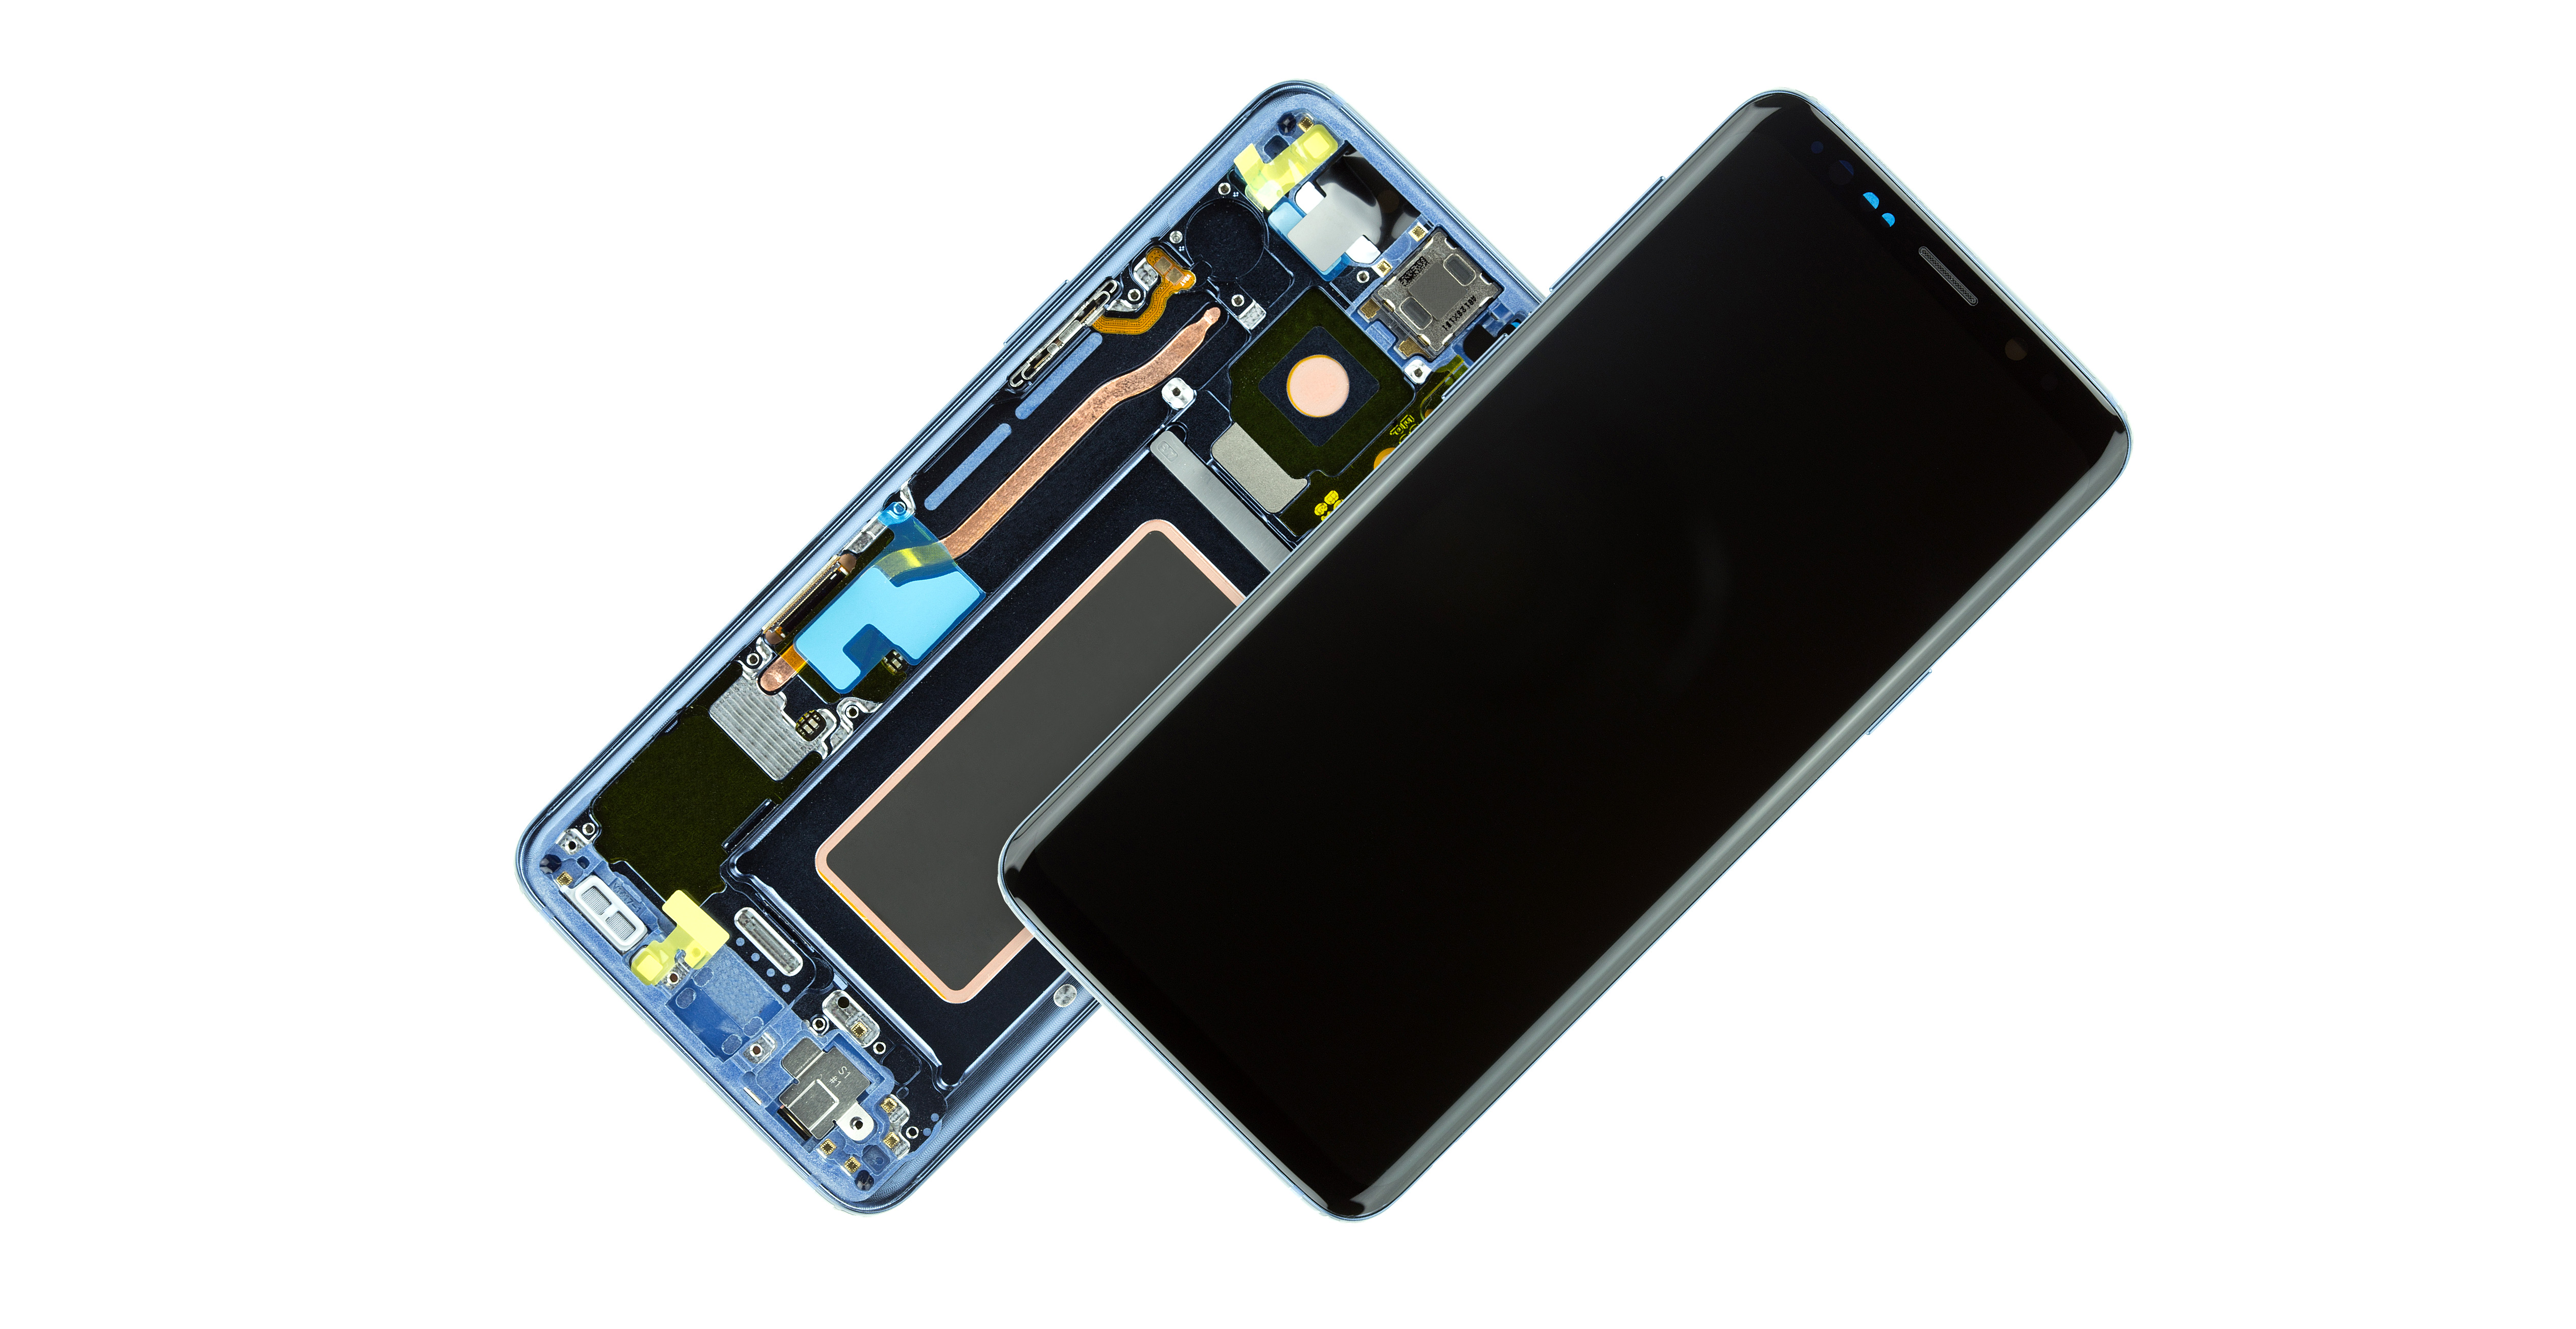
An original Samsung display has the perfect fit and provides highest image quality.
2. Get the right tools
Find out which tools you need before the repair. In our repair manuals we list all the tools you need in detail, so you don’t have to search long. Many suppliers also offer spare parts together with the right tools in a set. Be careful when you receive the tool as a free gift. Often those are only inferior cent articles, with which you risk damaging your phone in the worst case. High-quality tools are not only safer and help you work faster, they also last for future repairs.

With the iDoc toolkit you have the right tool for every repair.
3. Prepare your work space
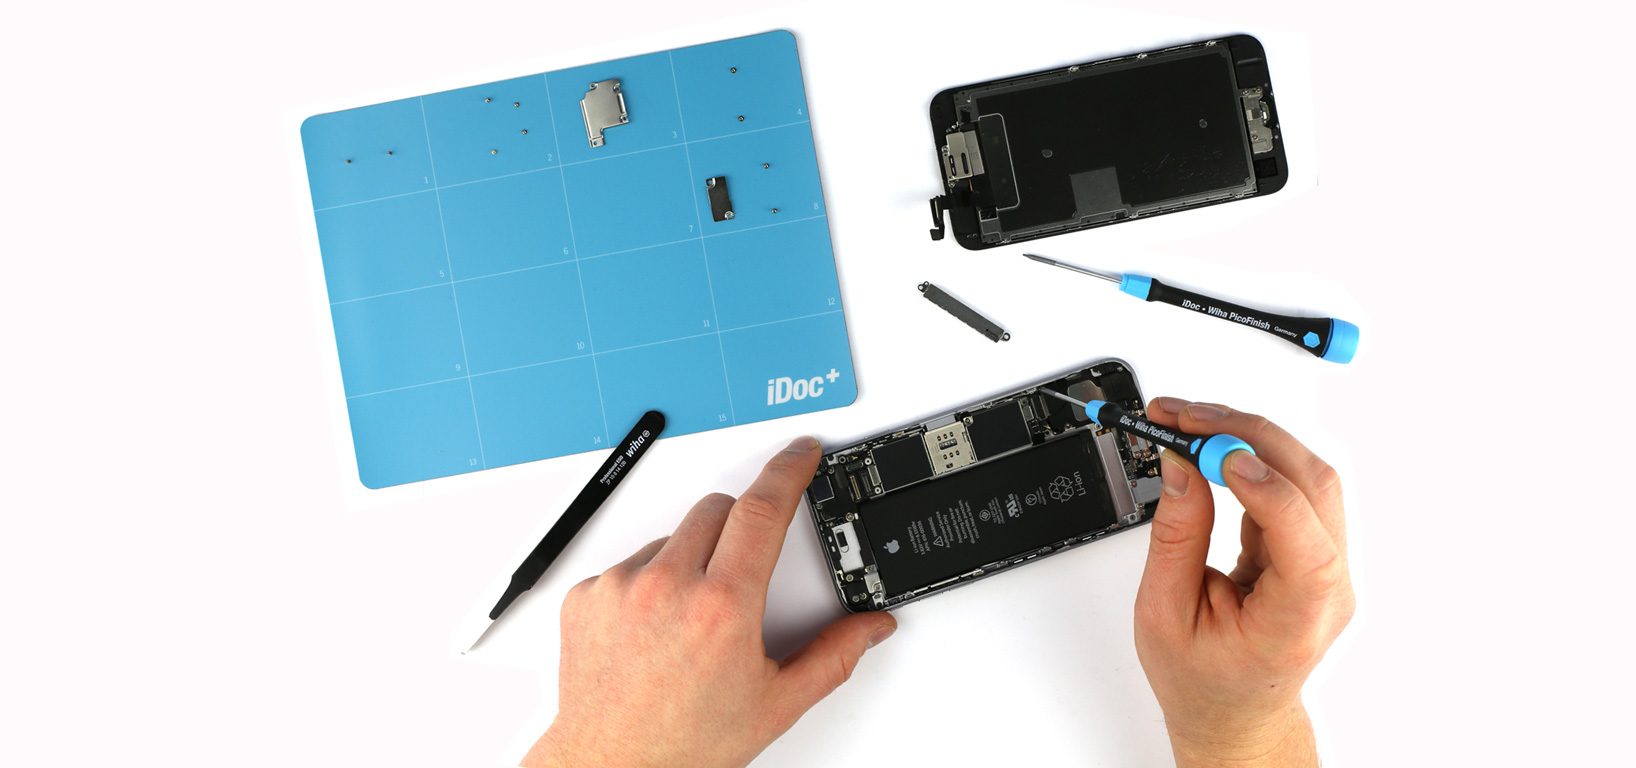
For a smartphone repair, your workplace should always be tidy. To avoid losing small parts such as screws during the repair, you should place all removed parts in a sorting box or on a magnetic pad. The work surface should also be clean to avoid scratches on the surface of your smartphone.

A clean workplace makes repairs easier.
4. Take enough time
It is better to carry out the repair in one piece so that nothing is left lying around and gets lost. Plan a little more time, especially if this is your first repair.
5. Have fun
You are about to repair your smartphone independently, cost-effectively and sustainably. Reason enough to be in a good mood. Our YouTube instructions have subtitles in English and German, so that you can even listen to your favourite music while repairing.
6. Back up your data
If you can still connect your device to a computer, you should always back up your data externally before repairing it. For the repair of iPhones Apple has its own backup method.
7. Perform a functional test
Test all main functions of your device before you pick up the screwdriver. Samsung has developed its own test mode for this. We have created a checklist especially for the functional test. This way you can make sure that you haven’t damaged anything during the repair.
8. Discharge electrostatic charges
Newer smartphones are usually well protected against electrostatic discharge. However, we recommend you not to wear static materials such as wool, fleece or nylon during repairs. You should also avoid walking over carpets with socks on before the repair. To be on the safe side, you can discharge potential charges from your body by touching the heater or any other metallic object.
9. Turn off your device and disconnect the battery
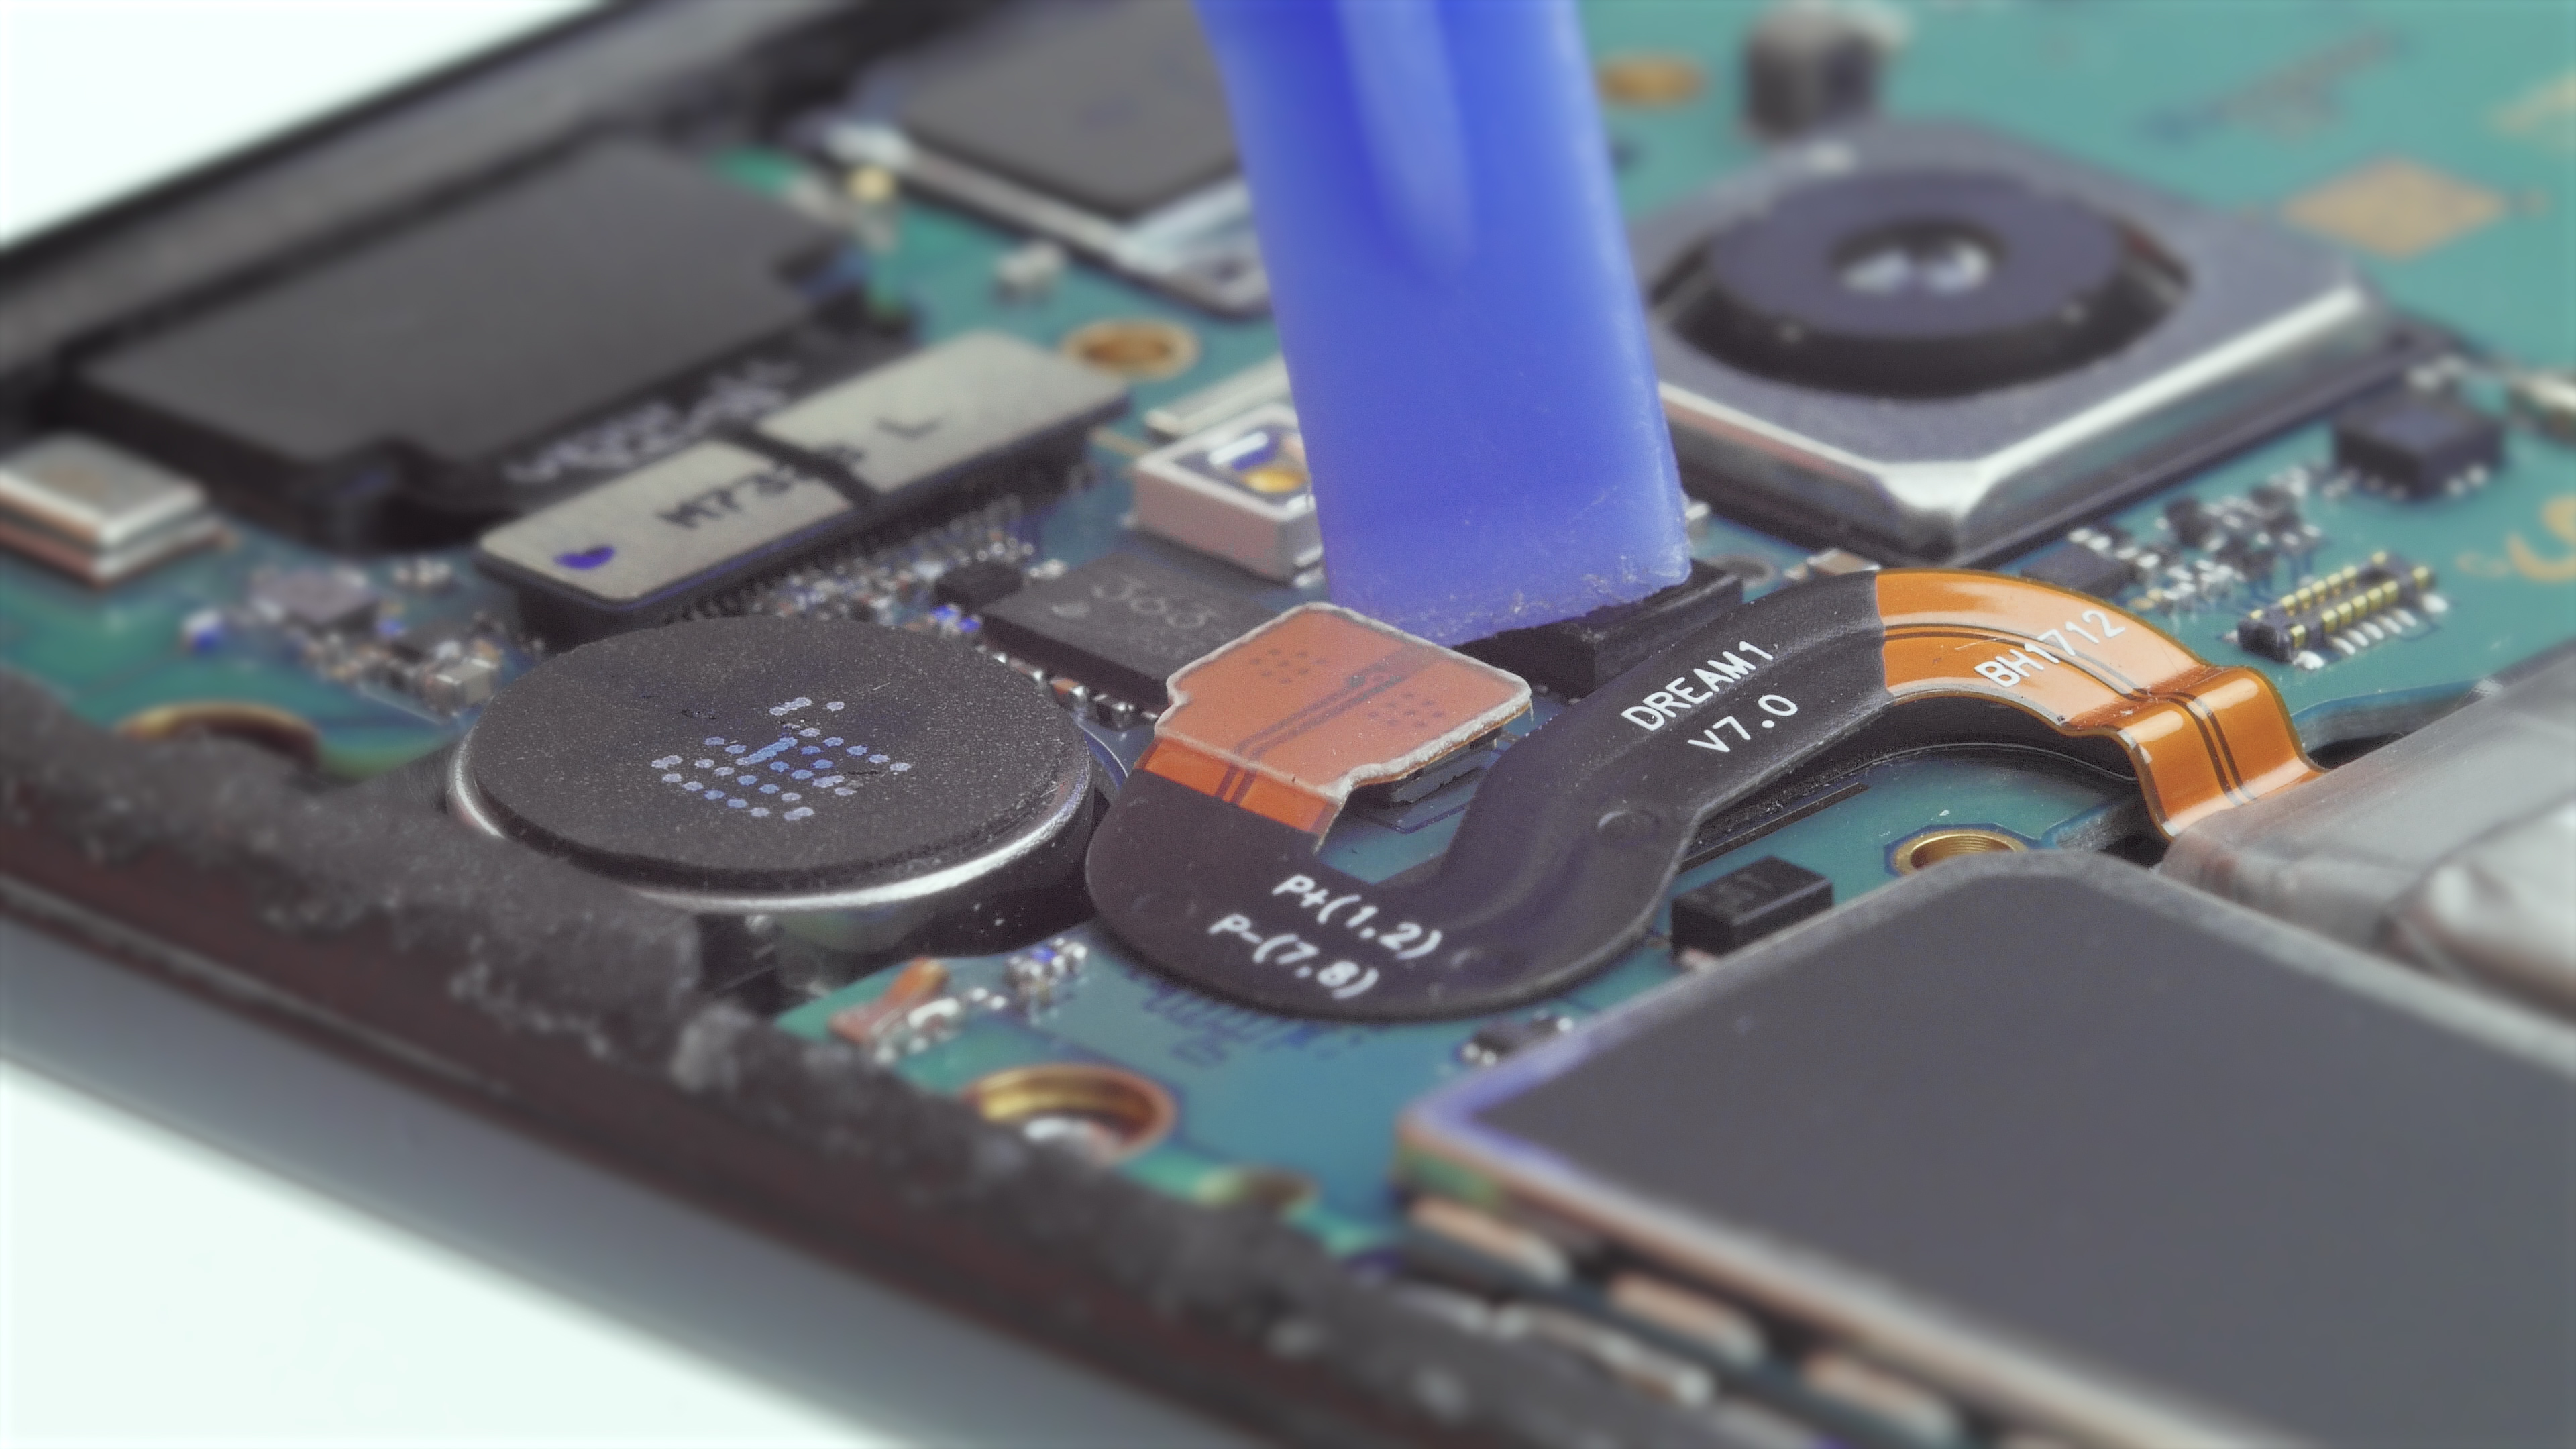
Before opening your device, you must switch it off. To avoid short circuits you should also disconnect the battery connector as soon as it is exposed.

Always disconnect the battery first.
You shouldn’t forget that after the repair:
10. Perform a functional test
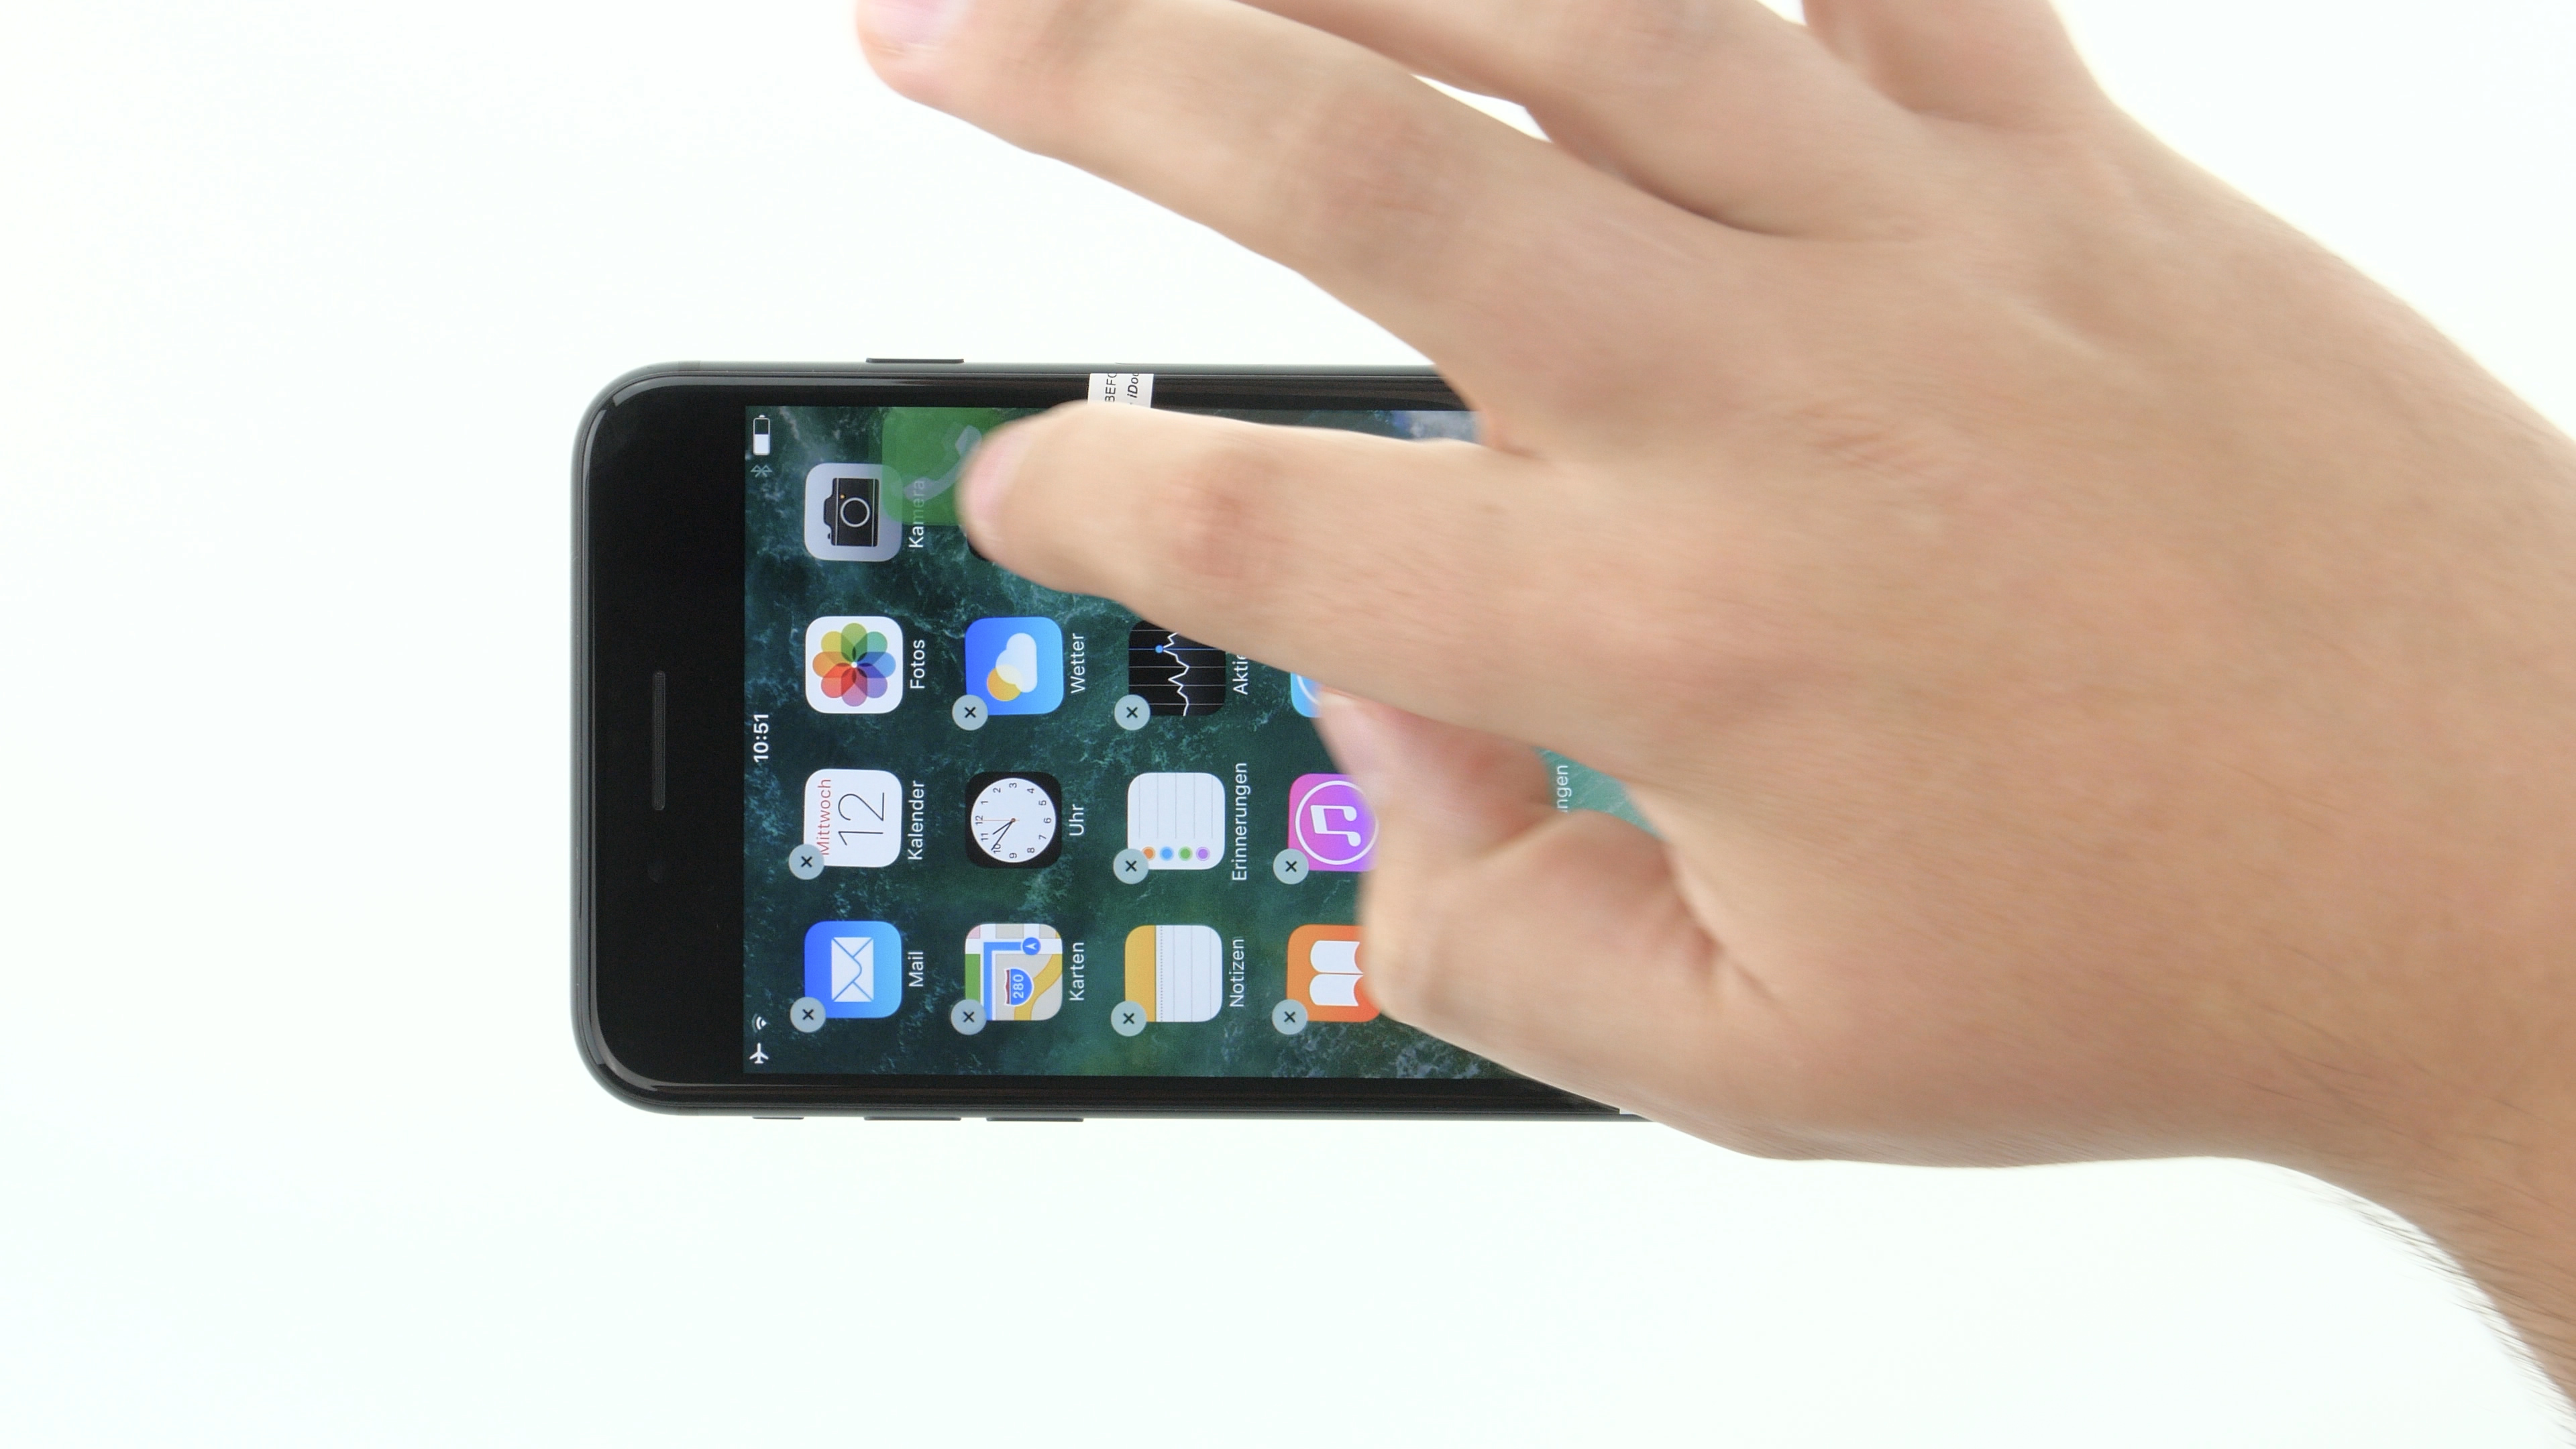
After the repair you should test the touch screen and all important functions again. This is the only way to know if your repair was successful. For example, some functions may fail if a cable is connected incorrectly.

Test your touchscreen testen: Drag an app accross the screen.
11. Note the watertightness
Note that your smartphone is no longer 100% waterproof as soon as it was once opened. You can re-glue the display with an adhesive frame. However, this only protects it against splash water.