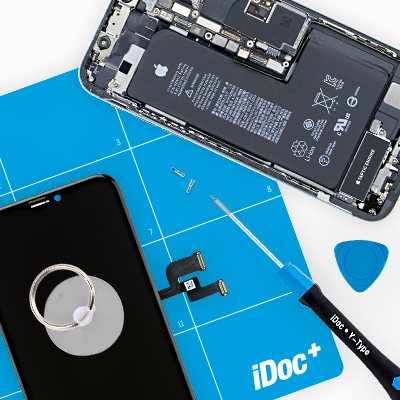
Is your display broken? It's really easy to repair your OnePlus 5!
Each step has detailed photos to guide you through this screen replacement. In this repair we replace the entire display unit, not just the broken glass. You may have to reuse some small parts from the old display unit for this screen replacement, depending on how your spare part is equipped. We advice you to check your spare part before installation. If you find any visible errors, please contact your vendor before starting.
The OnePlus 5 is fairly easy to fix, because the screen isn't glued to the frame and there aren't many different screw types. Unclipping the display is a little tricky, though.
Run a data backup before the repair, use a clean work surface and take enough time. If you have questions, use the live chat on our website or write a comment.
Required tools
-
iPlastix Opening Tool
iPlastix Opening Tool
Do you want to open your smartphone or lever out large parts like the battery? Then the iPlastix with its large blade will help you. The practical assistant is made of flexible, especially sturdy plastic and lies comfortably in the hand. Thanks to its design, you can even get into smaller gaps, for example to lift the screen or to prevent it from sticking together again.
on Amazon -
Pick Set
Pick Set
You need a flat but stable tool such as a pick to pry out parts that are glued in place.
from €14.99 on Amazon -
Plastic prying tool
Plastic prying tool
You need a flat plastic prying tool to disconnect the various plugs and connectors.
from €14.99 on Amazon -
Steel Laboratory Spatula
Steel Laboratory Spatula
You need a flat and sturdy prying tool to disconnect glued parts.
on Amazon -
Phillips PH00 screwdriver
Phillips PH00 screwdriver
You need the right screwdriver for removing PH00 screws.
from €10.84 on Amazon - Wiha PicoFinish Torx Screwdriver T1
Required replacement part
- OnePlus 5 Screen
Getting started with the repair of your OnePlus 5
If you get stuck or have questions, you can post a comment. We’d be happy to help.
-
Switch off device
-
Removing the enclosure screws
-
Remove SIM tray
-
Remove the back cover
-
Unplug the connectors
-
Remove the speaker
-
Remove the mainboard
-
Remove the battery
-
Remove the coaxial antenna
-
Remove the WiFi antenna
-
Remove the sub-board
-
Remove the main flex cable
-
Remove the vibration motor (optional)
-
Remove the earpiece (optional)
-
Remove the volume/standby buttons (optional)
-
Prepare the display
-
Insert the volume/standby buttons (optional)
-
Insert the earpiece (optional)
-
Insert the vibration motor (optional)
-
Insert the main flex cable
-
Insert the sub-board
-
Insert the WiFi antenna
-
Insert the coaxial antenna
-
Insert the battery
-
Insert the mainboard
-
Insert the speaker
-
Attach the connectors
-
Attach the back cover
-
Insert the SIM tray
-
Fasten the back cover screws
-
Test the device
The right tools for your repair
Similar guides
You might also be interested in these guides.
You might be interested in


