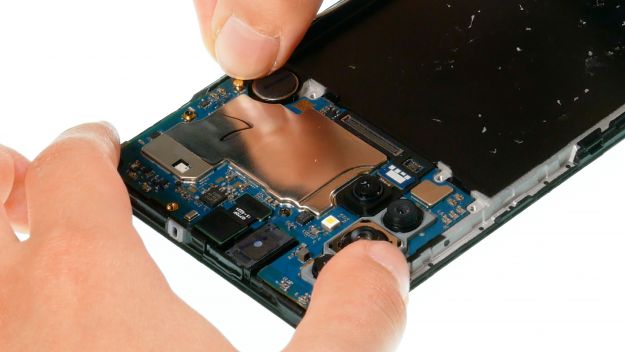
Your Samsung Galaxy A71 has a cracked display? The touch screen does not work anymore?
No worries. In this detailed step-by-step guide, we explain how you can replace the defective screen of your Galaxy A71 on your own.
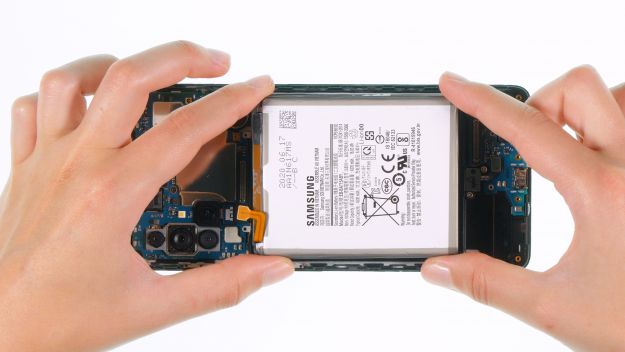
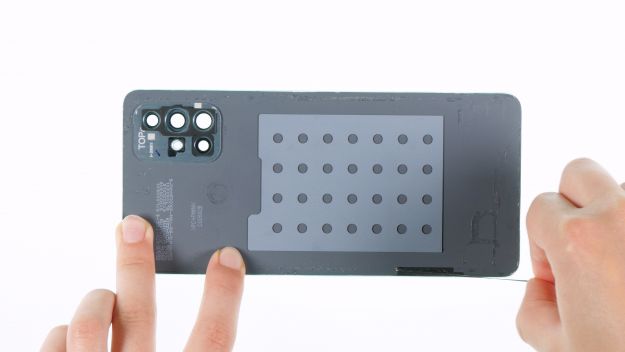
The display replacement is a bit more difficult on the A71, because both the backcover and the battery are heavily bonded. Therefore plan enough time for the repair.
We wish you much success with your repair! You can find the right original replacement screen for your Galaxy A71 as well as the right Samsung tool kit in our online store.
Required tools
-
Flat Picks
Flat Picks
You need a very flat tool such as a flat pick to pry out parts that are glued in place.
from €11.95 on Amazon -
Heat gun
Heat gun
You can use a heat gun to heat parts that are glued on so they’re easier to remove. In most cases, you can also use a hairdryer.
from €15.99 on Amazon -
iPlastix Opening Tool
iPlastix Opening Tool
Do you want to open your smartphone or lever out large parts like the battery? Then the iPlastix with its large blade will help you. The practical assistant is made of flexible, especially sturdy plastic and lies comfortably in the hand. Thanks to its design, you can even get into smaller gaps, for example to lift the screen or to prevent it from sticking together again.
on Amazon -
Tweezers
Tweezers
We recommend using tweezers to remove screws and various small parts from your device.
on Amazon -
Plastic prying tool
Plastic prying tool
You need a flat plastic prying tool to disconnect the various plugs and connectors.
from €14.99 on Amazon -
Phillips PH00 screwdriver
Phillips PH00 screwdriver
You need the right screwdriver for removing PH00 screws.
from €10.84 on Amazon
Required replacement part
- Samsung Galaxy A71 Screen
Getting started with the repair of your Galaxy A71
If you get stuck or have questions, you can post a comment. We’d be happy to help.
-
Switching off your Galaxy A71
-
Heating up the back cover
-
Lifting up the back cover
-
Detaching the back cover
-
Removing the SIM tray
-
Detaching the middle frame
-
Disconnecting the battery
-
Detaching the flex cabel
-
Removing the mainboard
-
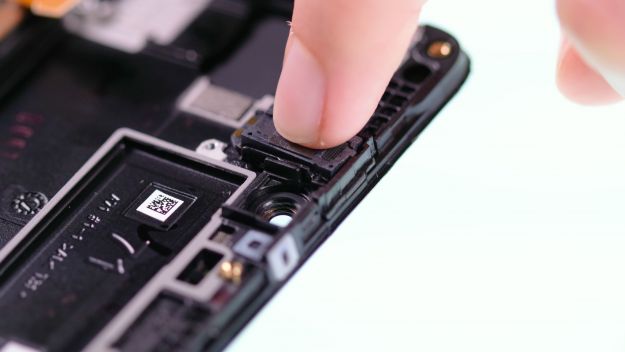
Removing the earpiece
-
Removing the vibration motor
-
Removing the fingerprint sensor
-
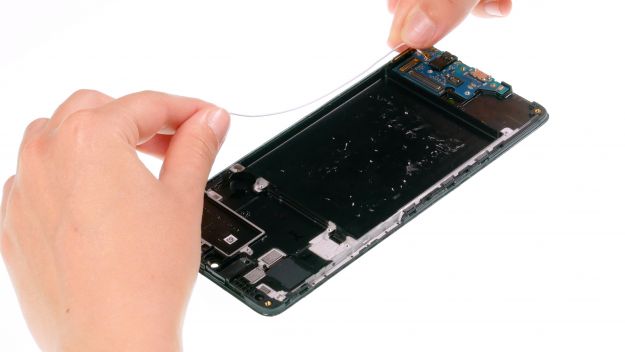
Removing the USB board
-
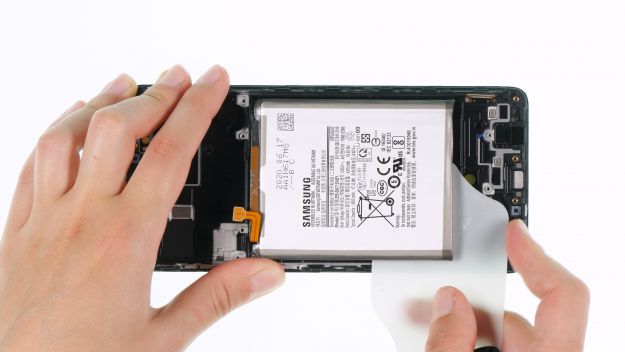
Removing the battery
-
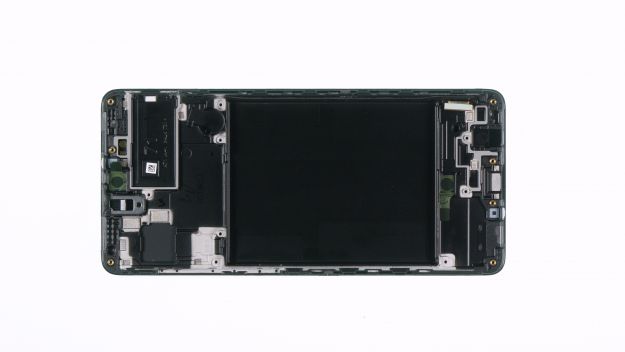
Preparing the new display
-
Inserting the USB board
-
Inserting the fingerprint sensor
-
Inserting the vibration engine
-
Inserting the earpiece
-
Inserting the mainboard
-
Inserting the battery
-
Connecting the flex cabel
-
Connecting the battery
-
Attaching the middle frame
-
Inserting the SIM tray
-
Testing your Galaxy A71
-
Attaching a new adhesive frame
-
Attaching the back cover
The right tools for your repair
Similar guides
You might also be interested in these guides.
You might be interested in


