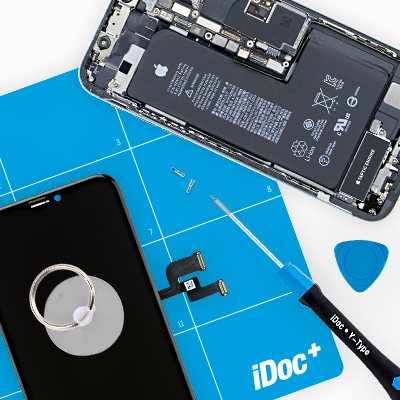
The screen no longer displays anything, the touch does not work or the glass has cracked.
Has your Samsung Galaxy A80 slipped out of your hand, your pocket or off the table again, and this time you didn't just get away with no more than the scare? A thick scratch or a splintered display now decorates your smartphone? No problem, because in this instruction we explain how to repair the display of your Galaxy A80 all by yourself.
This replacement can also help if your touchscreen is only working partially or not at all, or if your screen displays annoying pixel errors. These errors can usually be eliminated by replacing the display unit.
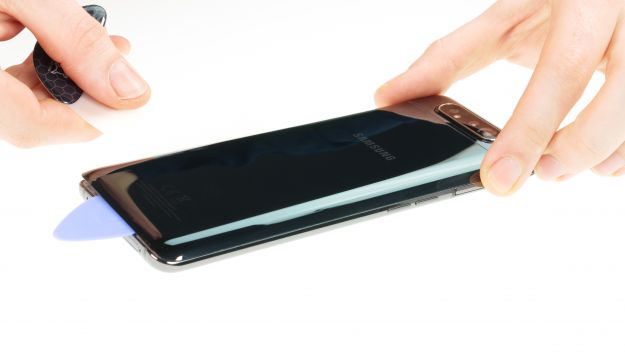
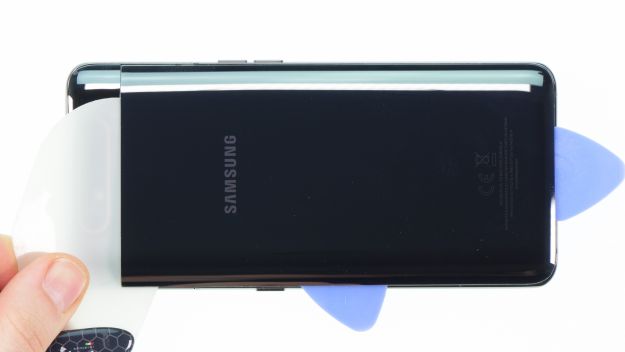
We will explain step by step how to open your Samsung Galaxy A80 via the back cover, remove all components from the old display and then reinsert them into your new display. We will show you how to replace the complete display unit with frame, so if the side of your smartphone also has a large dent or unsightly scratches, these problems will be fixed as well.
If questions arise during the repair, you can contact our technicians and the community via the chat or comment function. This way, you are sure to get help quickly. We also appreciate feedback and a review!
And now we wish you a successful repair and lots of fun with your repaired Samsung Galaxy A80!
Required tools
-
Tool for prying out batteries
Tool for prying out batteries
You have to use a very stable tool to pry out the battery. At the same time, it has to be flat enough to insert below the battery.
from €10.99 on Amazon -
Flat Picks
Flat Picks
You need a very flat tool such as a flat pick to pry out parts that are glued in place.
from €11.95 on Amazon -
Heat gun
Heat gun
You can use a heat gun to heat parts that are glued on so they’re easier to remove. In most cases, you can also use a hairdryer.
from €15.99 on Amazon -
iFlex Opening Tool
iFlex Opening Tool
Opening your smartphone can be a very delicate operation, especially if the glue is very persistent. The blade of the flexible but sturdy iFlex measures just 0.15 mm, so it fits in even the smallest gaps, such as between the screen and the frame. The practical iFlex is made of stainless steel and sits comfortably in the hand. This makes it the perfect assistant for every smartphone repair.
from €10.95 on Amazon -
iPlastix Opening Tool
iPlastix Opening Tool
Do you want to open your smartphone or lever out large parts like the battery? Then the iPlastix with its large blade will help you. The practical assistant is made of flexible, especially sturdy plastic and lies comfortably in the hand. Thanks to its design, you can even get into smaller gaps, for example to lift the screen or to prevent it from sticking together again.
on Amazon -
iSclack evo Opening Tool
iSclack evo Opening Tool
Opening your device can be a real test of patience, when the screen or back of your phone is glued very strong. With an iSclack evo, you can simplify the process. The pincer-like handle allows you to create a gap between the screen and the frame with minimal effort. At the same time, you have the other hand free to use a narrow tool such as a plectrum or the iFlex to enlarge the gap. The included cover foils allow you to use the iSclack evo even if the screen is splintered.
on Amazon -
For storing screws
For storing screws
We recommend storing your screws so you don’t mix up the various screws and small parts.
from €10.99 on Amazon -
SIM Tool
SIM Tool
If you want to use a different SIM card or repair most parts of your Apple devices, you’ll have to remove the SIM card first. The SIM card tray only comes out if you insert a tool with a very fine point into the small hole next to the SIM card slot. This tool is designed especially for ejecting the SIM card from all iPhones and iPads, and fits perfectly into the appropriate opening.
on Amazon -
Plastic prying tool
Plastic prying tool
You need a flat plastic prying tool to disconnect the various plugs and connectors.
from €14.99 on Amazon -
Phillips PH00 screwdriver
Phillips PH00 screwdriver
You need the right screwdriver for removing PH00 screws.
from €10.84 on Amazon
Required replacement part
- Samsung Galaxy A80 Screen
Getting started with the repair of your Galaxy A80
If you get stuck or have questions, you can post a comment. We’d be happy to help.
-
Remove the back cover
-
Remove the main board cover
-
Disconnect the battery
-
Remove the speaker
-
Remove the battery
-
Remove the USB board
-
Remove the fingerprint sensor
-
Remove the camera covers
-
Remove the main board
-
Remove the camera motor
-
Prepare the new display
-
Insert the camera motor
-
Insert the main board.
-
Insert the camera covers
-
Insert the fingerprint sensor
-
Insert the USB board
-
Insert the battery
-
Insert the speaker
-
Connect the battery
-
Insert the main board cover
-
Test your Galaxy A80
-
Attach the back cover
The right tools for your repair
Similar guides
You might also be interested in these guides.
You might be interested in

