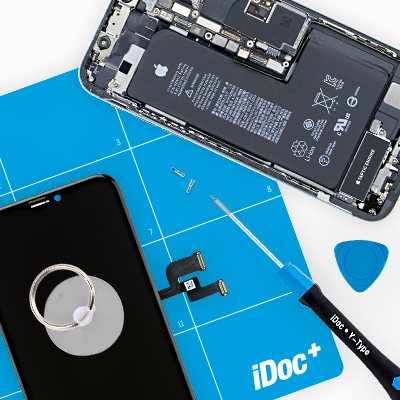
Having trouble charging the battery of your iPhone 11? Or your iPhone is no longer recognized by your PC or laptop when you connect it with a cable?
That could be because the component of the Lightning connector is defective.
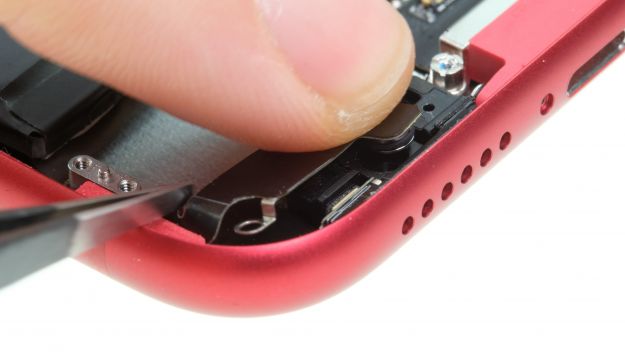
The Lightning Connector connects the entire lower part of the iPhone. The speaker and the Taptic Engine are connected there. It also contains the microphones that record your calls.
With our detailed repair instructions, you can get your iPhone 11 back in shape step by step.
Plan enough time and make a backup of your iPhone before the repair to be on the safe side. Normally all data will be preserved.
Required tools
-
Heat gun
Heat gun
You can use a heat gun to heat parts that are glued on so they’re easier to remove. In most cases, you can also use a hairdryer.
from €15.99 on Amazon -
Tweezers
Tweezers
We recommend using tweezers to remove screws and various small parts from your device.
on Amazon -
Pick Set
Pick Set
You need a flat but stable tool such as a pick to pry out parts that are glued in place.
from €14.99 on Amazon -
Plastic prying tool
Plastic prying tool
You need a flat plastic prying tool to disconnect the various plugs and connectors.
from €14.99 on Amazon -
Pentalobe PL1 screwdriver
Pentalobe PL1 screwdriver
You need the right screwdriver for removing pentalobe PL1 screws.
on Amazon -
Phillips PH00 screwdriver
Phillips PH00 screwdriver
You need the right screwdriver for removing PH00 screws.
from €10.84 on Amazon -
Phillips screwdriver with centering pin
Phillips screwdriver with centering pin
Phillips screwdriver with practical centering pin for logic board screws.
on Amazon - Y-type Y000 screwdriver
Required replacement part
- iPhone 11 Lightning Connector Black
Getting started with the repair of your iPhone 11
If you get stuck or have questions, you can post a comment. We’d be happy to help.
-
Switching off the iPhone 11
-
Removing the pentalobe screws
-
Loosening the screen
-
Disconnecting the display connectors
-
Disconnecting the battery
-
Removing the cover plate
-
Removing the taptic engine
-
Removing the speaker
-
Disconnecting the SIM card reader
-
Removing the SIM card reader
-
Removing the screws of the Lightning Connector
-
Removing the Lightning Connector
-
Preparing the new Lightning Connector
-
Installing the Lightning Connector
-
Connecting and screwing in the Lightning Connector
-
Installing the SIM card reader
-
Connecting the SIM card reader
-
Installing the speaker
-
Installing the Taptic Engine
-
Installing the cover plate
-
Connecting the battery
-
Attaching a new frame sticker (optional)
-
Connecting the display
-
Installing the display
-
Fastening the pentalobe screws
The right tools for your repair
Similar guides
You might also be interested in these guides.
You might be interested in


